Shader 101 -- The operating principles of GLSL and GPU The fundamental operation of Shaders
Basic operations using GLSL
The main points
- Relationship between Shader and GPU
- Introduction to Shader language GLSL
- Shader examples
Preface
Before diving into Shader writing, it’s essential to understand the basic operations of GLSL. Unlike using methods like print or console.log in CPU programs, debugging on the GPU is much more complex. On the GPU, we cannot directly output logs or messages like we can on the CPU. However, even in such an environment, we can still check the execution of our Shader code using some tricks.
Hello World
precision mediump float;

uniform vec2 u_resolution;

void main()
{
  vec2 uv = gl_FragCoord.xy / u_resolution;

  vec3 color = vec3(uv, 0.);

  gl_FragColor = vec4(color, 1.0);
}
Above is an initial GLSL template that can be executed through VSCode. Like most languages, it has a main function entry point, mainly operating on gl_FragColor.
CPU vs GPU
In general, programs executed on the CPU are processed continuously by one thread, while on the GPU, multiple threads handle batches of pixels at a time.

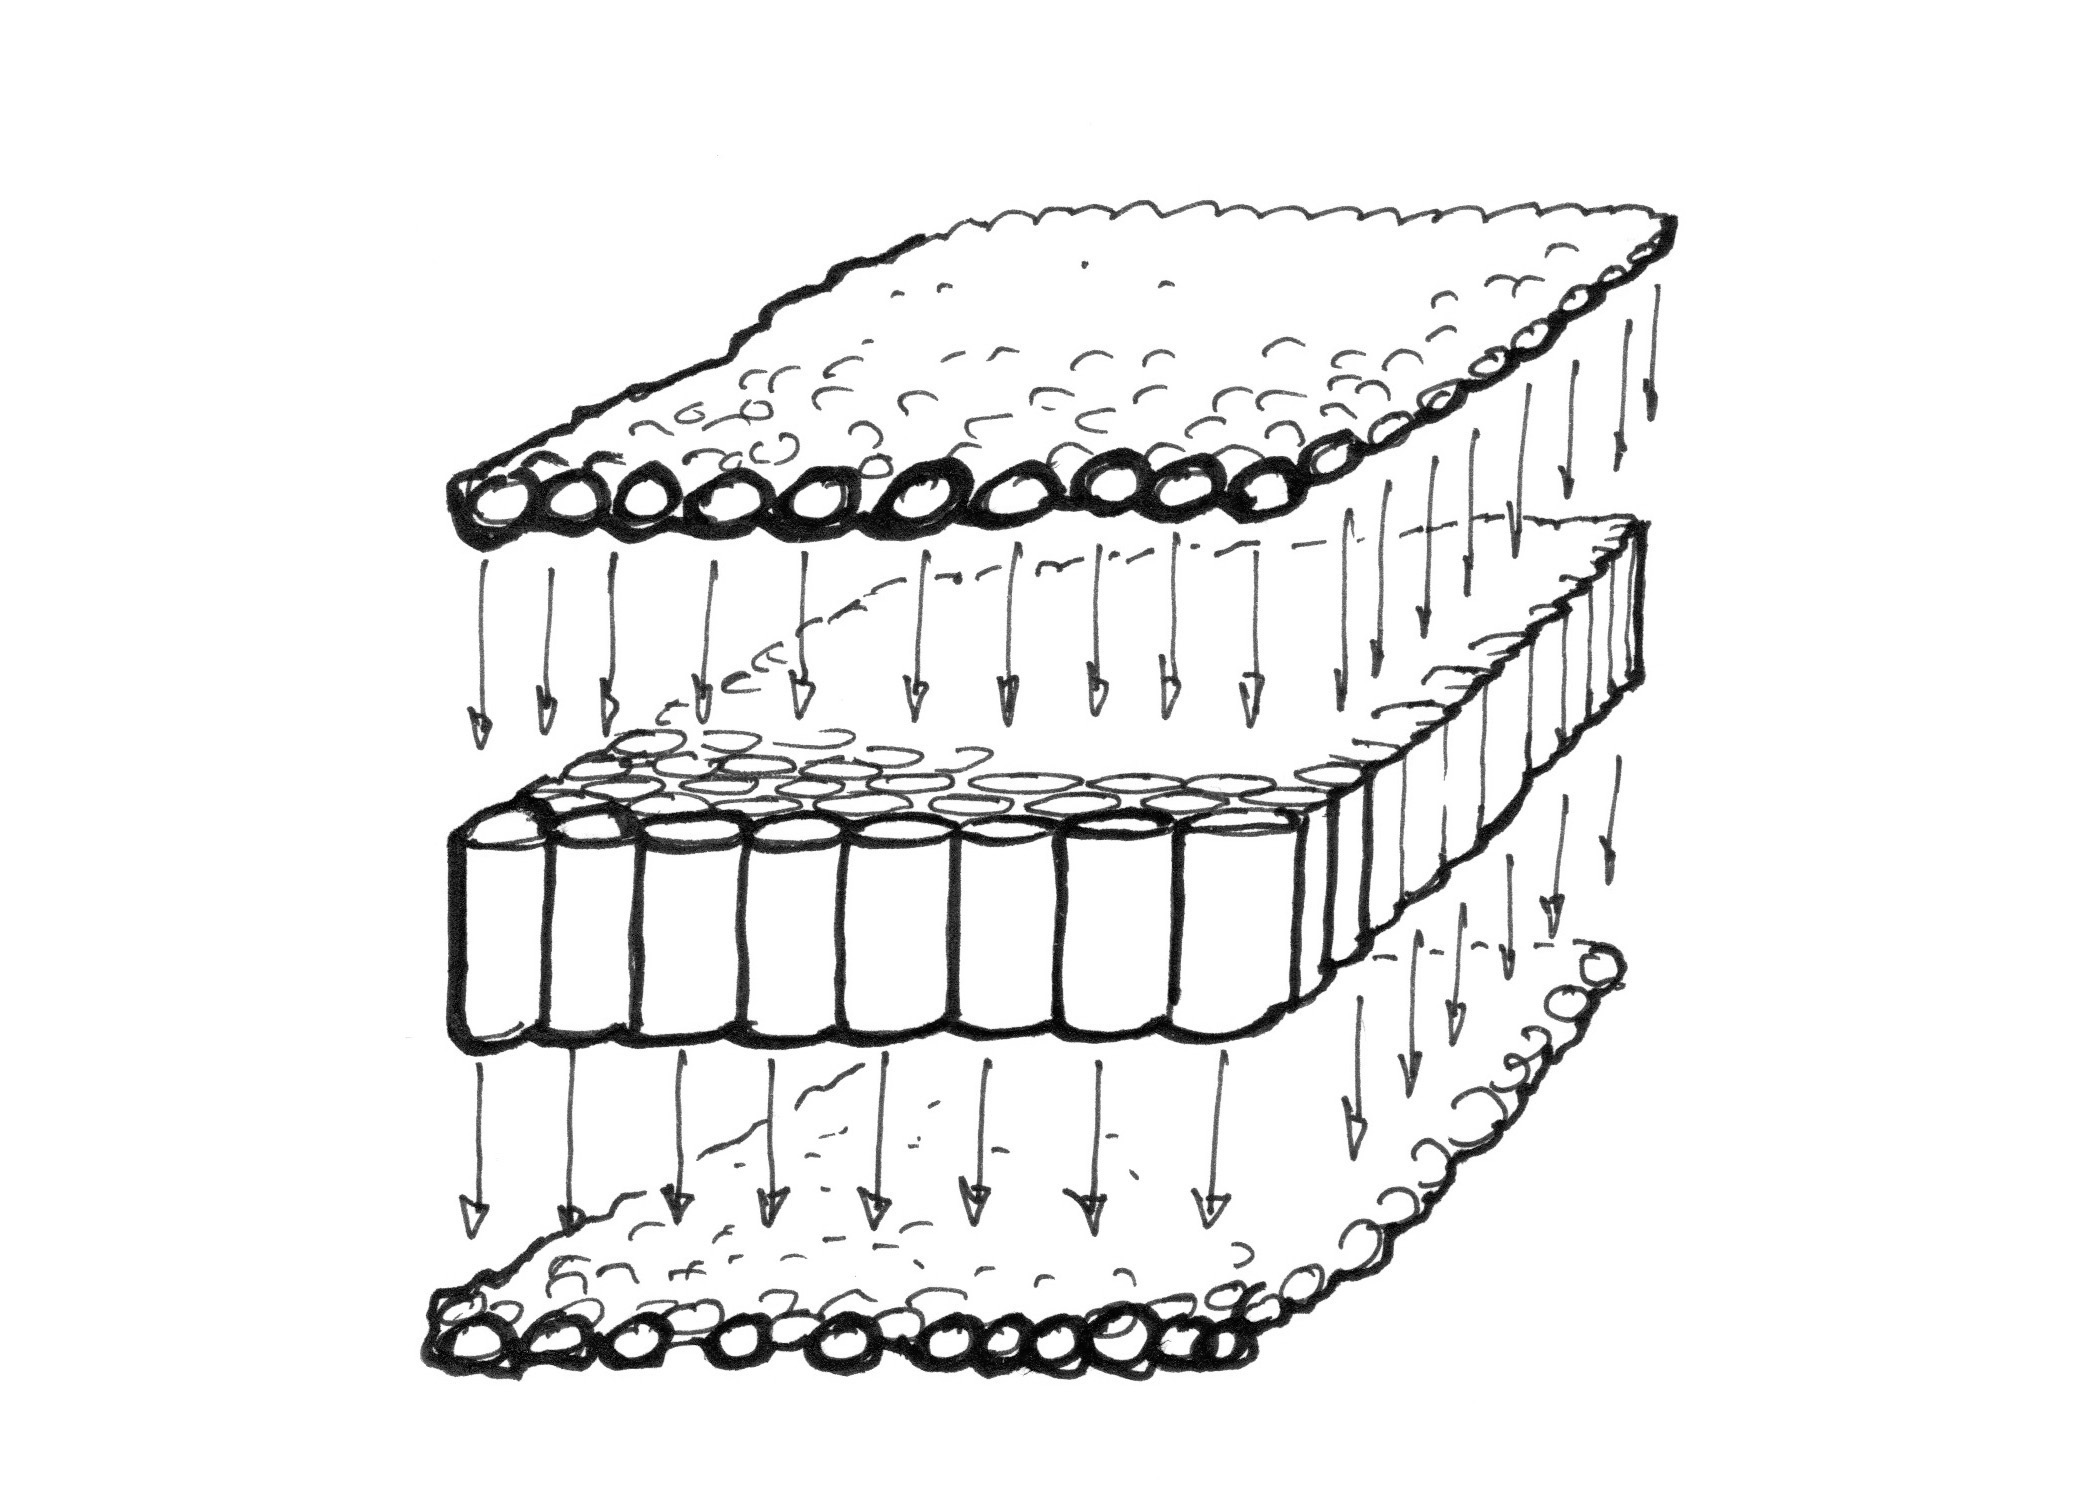
Image Source:The Book of Shaders
The code above, when translated to CPU, would roughly become:
public static Color[] Pixels;

const int c_resolutionX = 1920;
const int c_resolutionY = 1080;


void Draw (int x, int y)
{
  var res = new Color((float)x / c_resolutionX, (float)y / c_resolutionY, 0f);

  Pixels[x * c_resolutionY + y] = res;
}

void Main ()
{
  Pixels = new float[c_resolutionX * c_resolutionY];
  while(true)
  {
    for (var x = 0; x < c_resolutionX; ++x)
    {
      for (var y = 0; y < c_resolutionY; ++y)
      {
        Draw(x, y);
      }
    }
  }
}
The meaning of the above code is to run through a 1920x1080 screen, with the color of each pixel determined by the input coordinates.
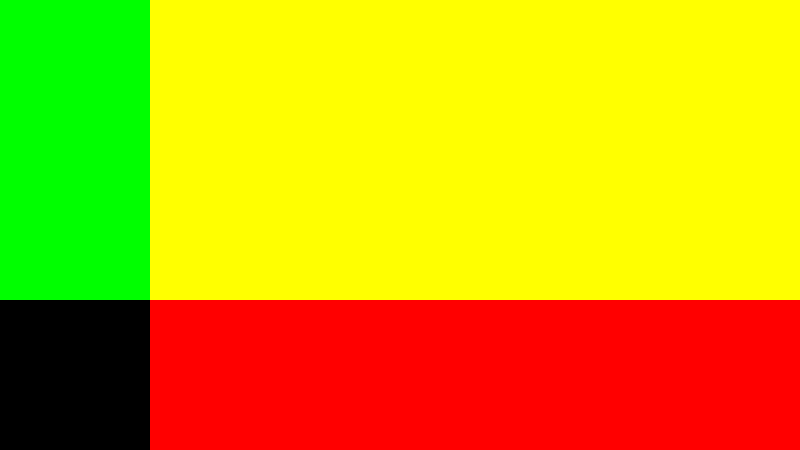
Both code segments yield the following result
Additionally, there are two significant limitations when executing on the GPU
- Cores are entirely independent and cannot know the current running status of other cores.
- Cores only have the current status (Input) and cannot know the previous execution status (Input).
Analyzing Shader Content
Returning to our initial Shader, how do we determine the value of gl_FragCoord? Unlike in general programming languages, Shaders do not have any Print function to let us know the value of gl_FragCoord. Therefore, the only way to test is by printing out the results.
precision mediump float;

uniform vec2 u_resolution;

void main()
{
  vec3 color = vec3(gl_FragCoord, 0.);

  gl_FragColor = vec4(color, 1.0);
}
What is the result of the example above?
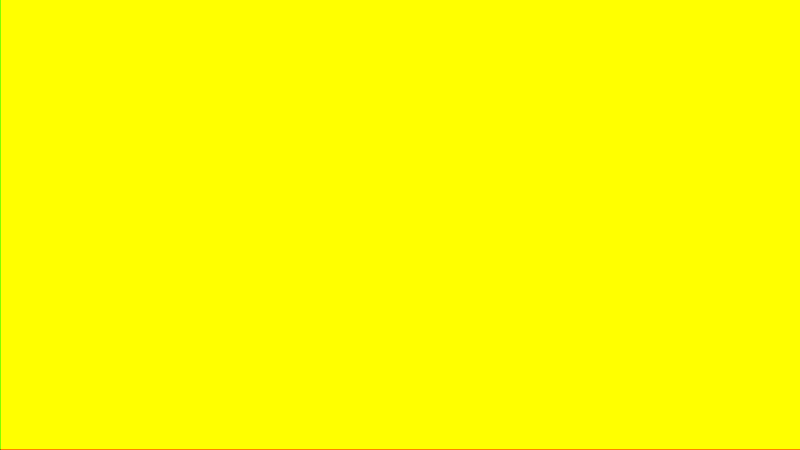
Huh? Why is it all yellow?
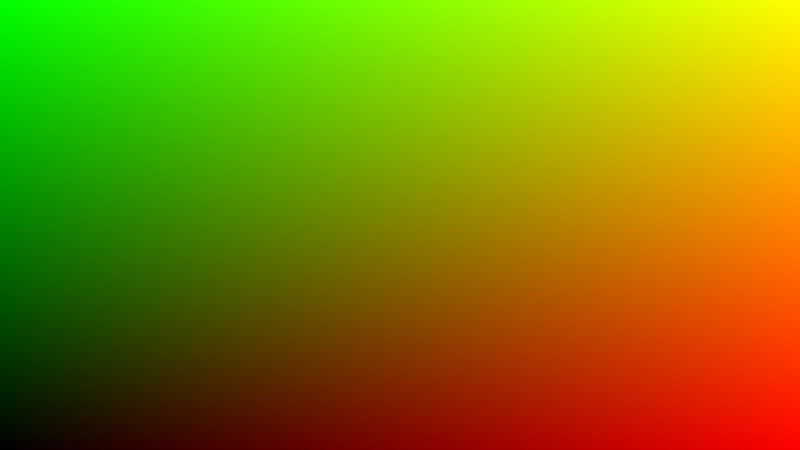
The value passed into gl_FragCoord is a two-dimensional (vec2) value, representing the coordinates (x, y) of the pixel, as shown below
![]()
In computer science, colors are usually composed of three numbers, representing red, green, and blue (RGB).Additionally, in Shaders, the range of color values is between 0 and 1. Therefore, directly using gl_FragCoord will result in the bottom-left value being black (0, 0, 0), the bottom row being red (1, 0, 0), the leftmost column being green (0, 1, 0), and the remaining area being yellow (1, 1, 0). Upon closer examination of the result, there are actually green and red lines, which become visible when magnified
Going back to the initial program, there’s this behavior
vec2 uv = gl_FragCoord.xy / u_resolution;
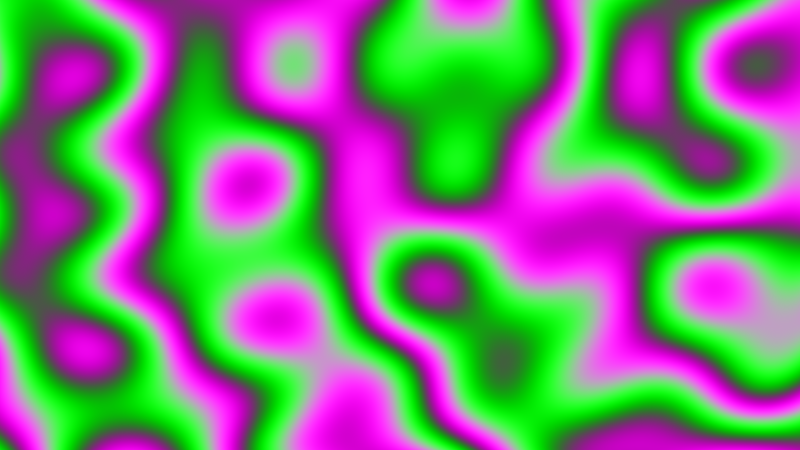
What it does is to scale the width from 0 to 1919 (1920 - 1) and the height from 0 to 1079 (1080 - 1) each divided by the width and height of the screen (1920, 1080) to scale the values between 0 and 1. This results in a gradual increase of red from left to right and green from bottom to top, just like the initial example.
Shader Examples
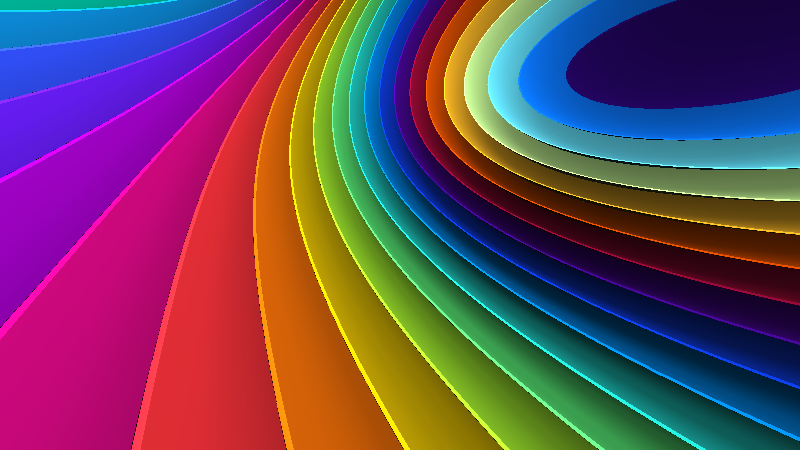
From the above, we can see that the most basic input value for Shader is only the coordinates of a pixel. However, with such simple information, combined with a lot of mathematical knowledge, we can create incredibly stunning visual effects.
Learning Resources
The Book of Shaders
The Book of Shadersoffers a wealth of basic examples and code and also provides an online editorfor users to test their own code.
Shadertoy
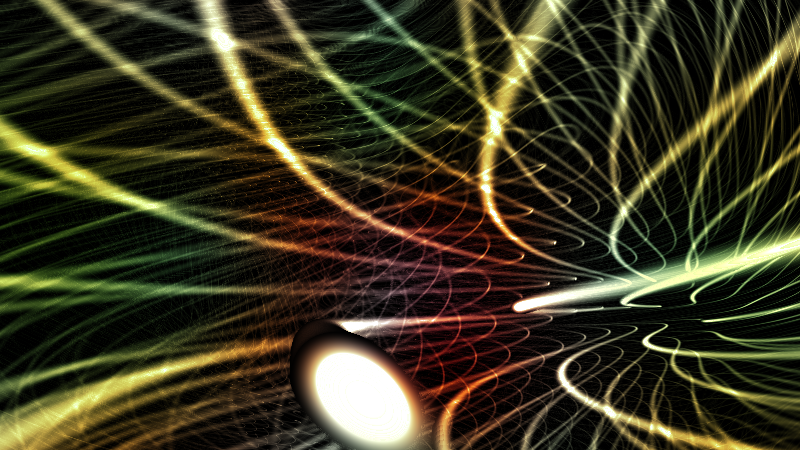
Shadertoyshowcases the achievements of various masters and allows users to watch and write code in real-time. You will find many impressive effects here, with the underlying code possibly not exceeding 200 lines. Many works here primarily use the Ray Marching algorithm, which will be discussed in future articles.
Conclusion
Rendering is an essential element that cannot be avoided in game development. Although most game engines encapsulate rendering, allowing users to complete game development without knowing too many rendering details, using Shader is a necessary tool to give games more style.
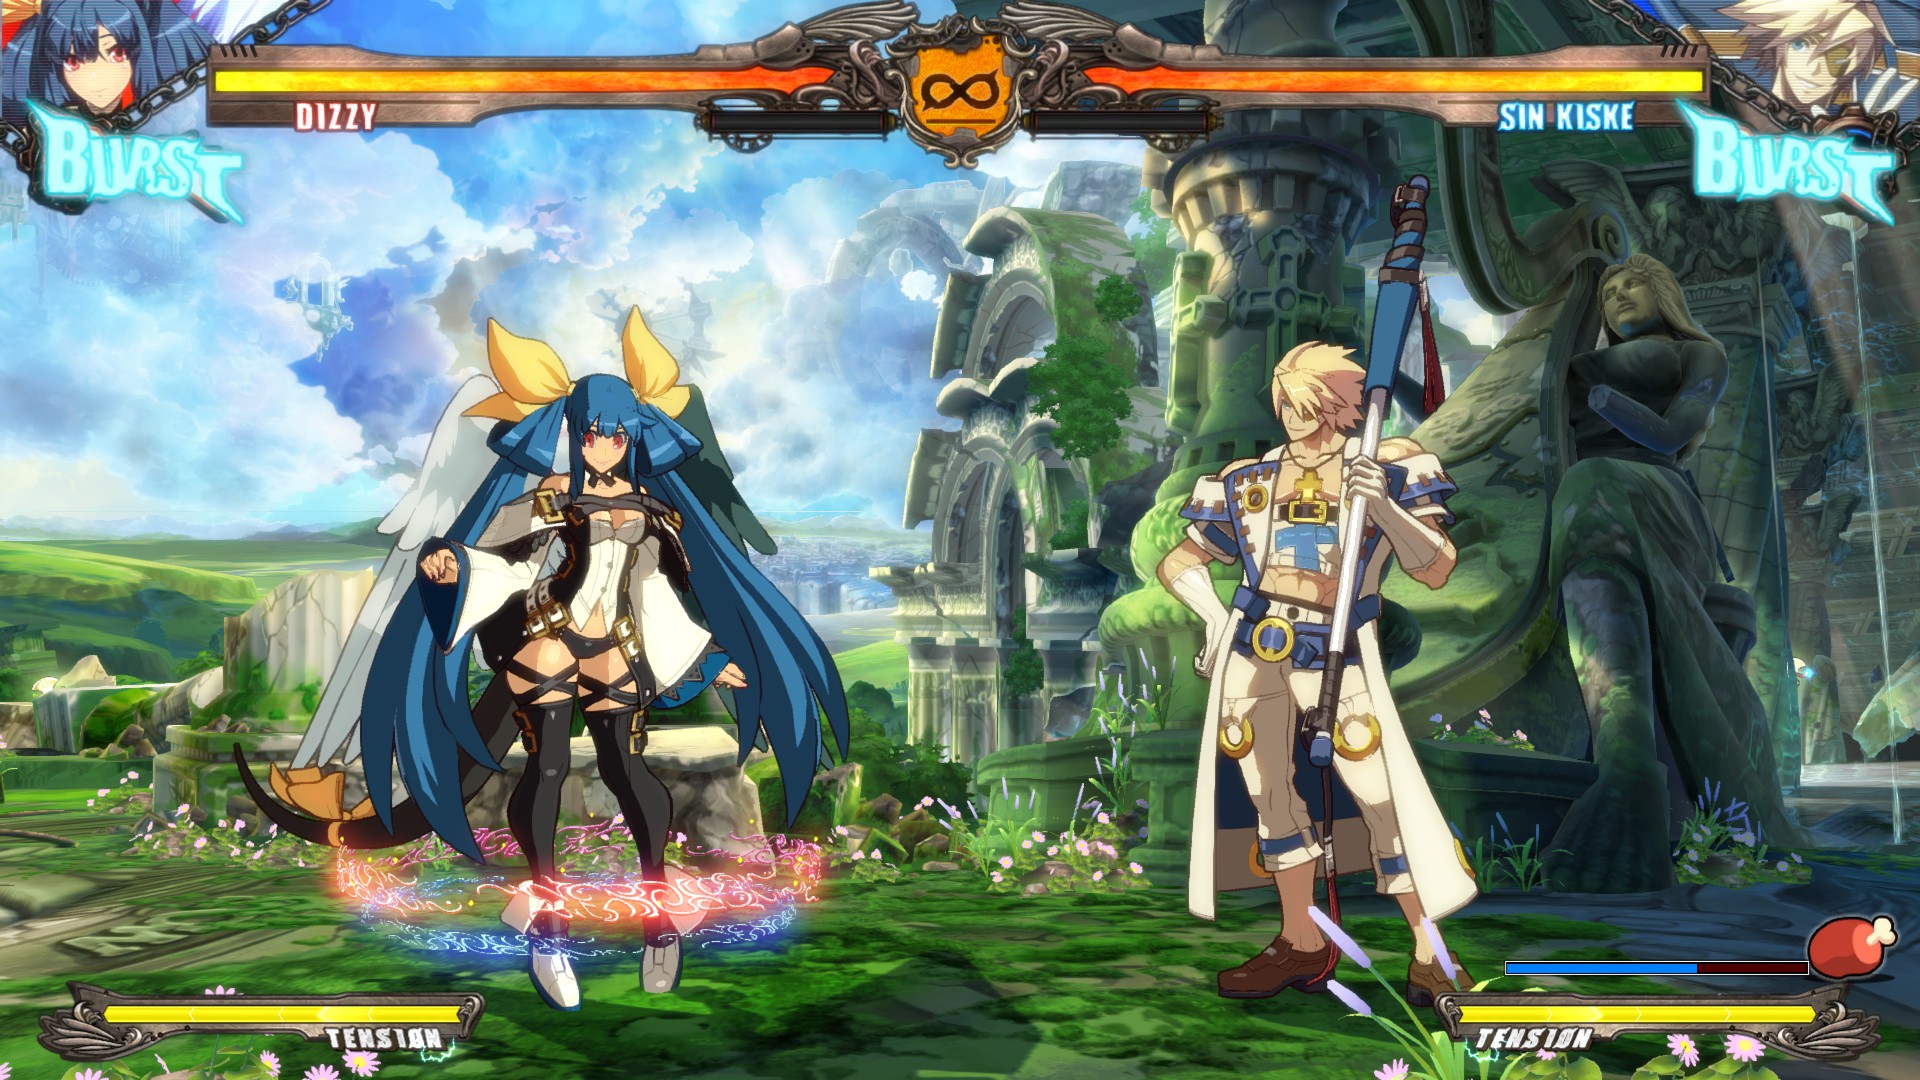
The Toon Shader style of the Guilty Gear series is an industry leader.
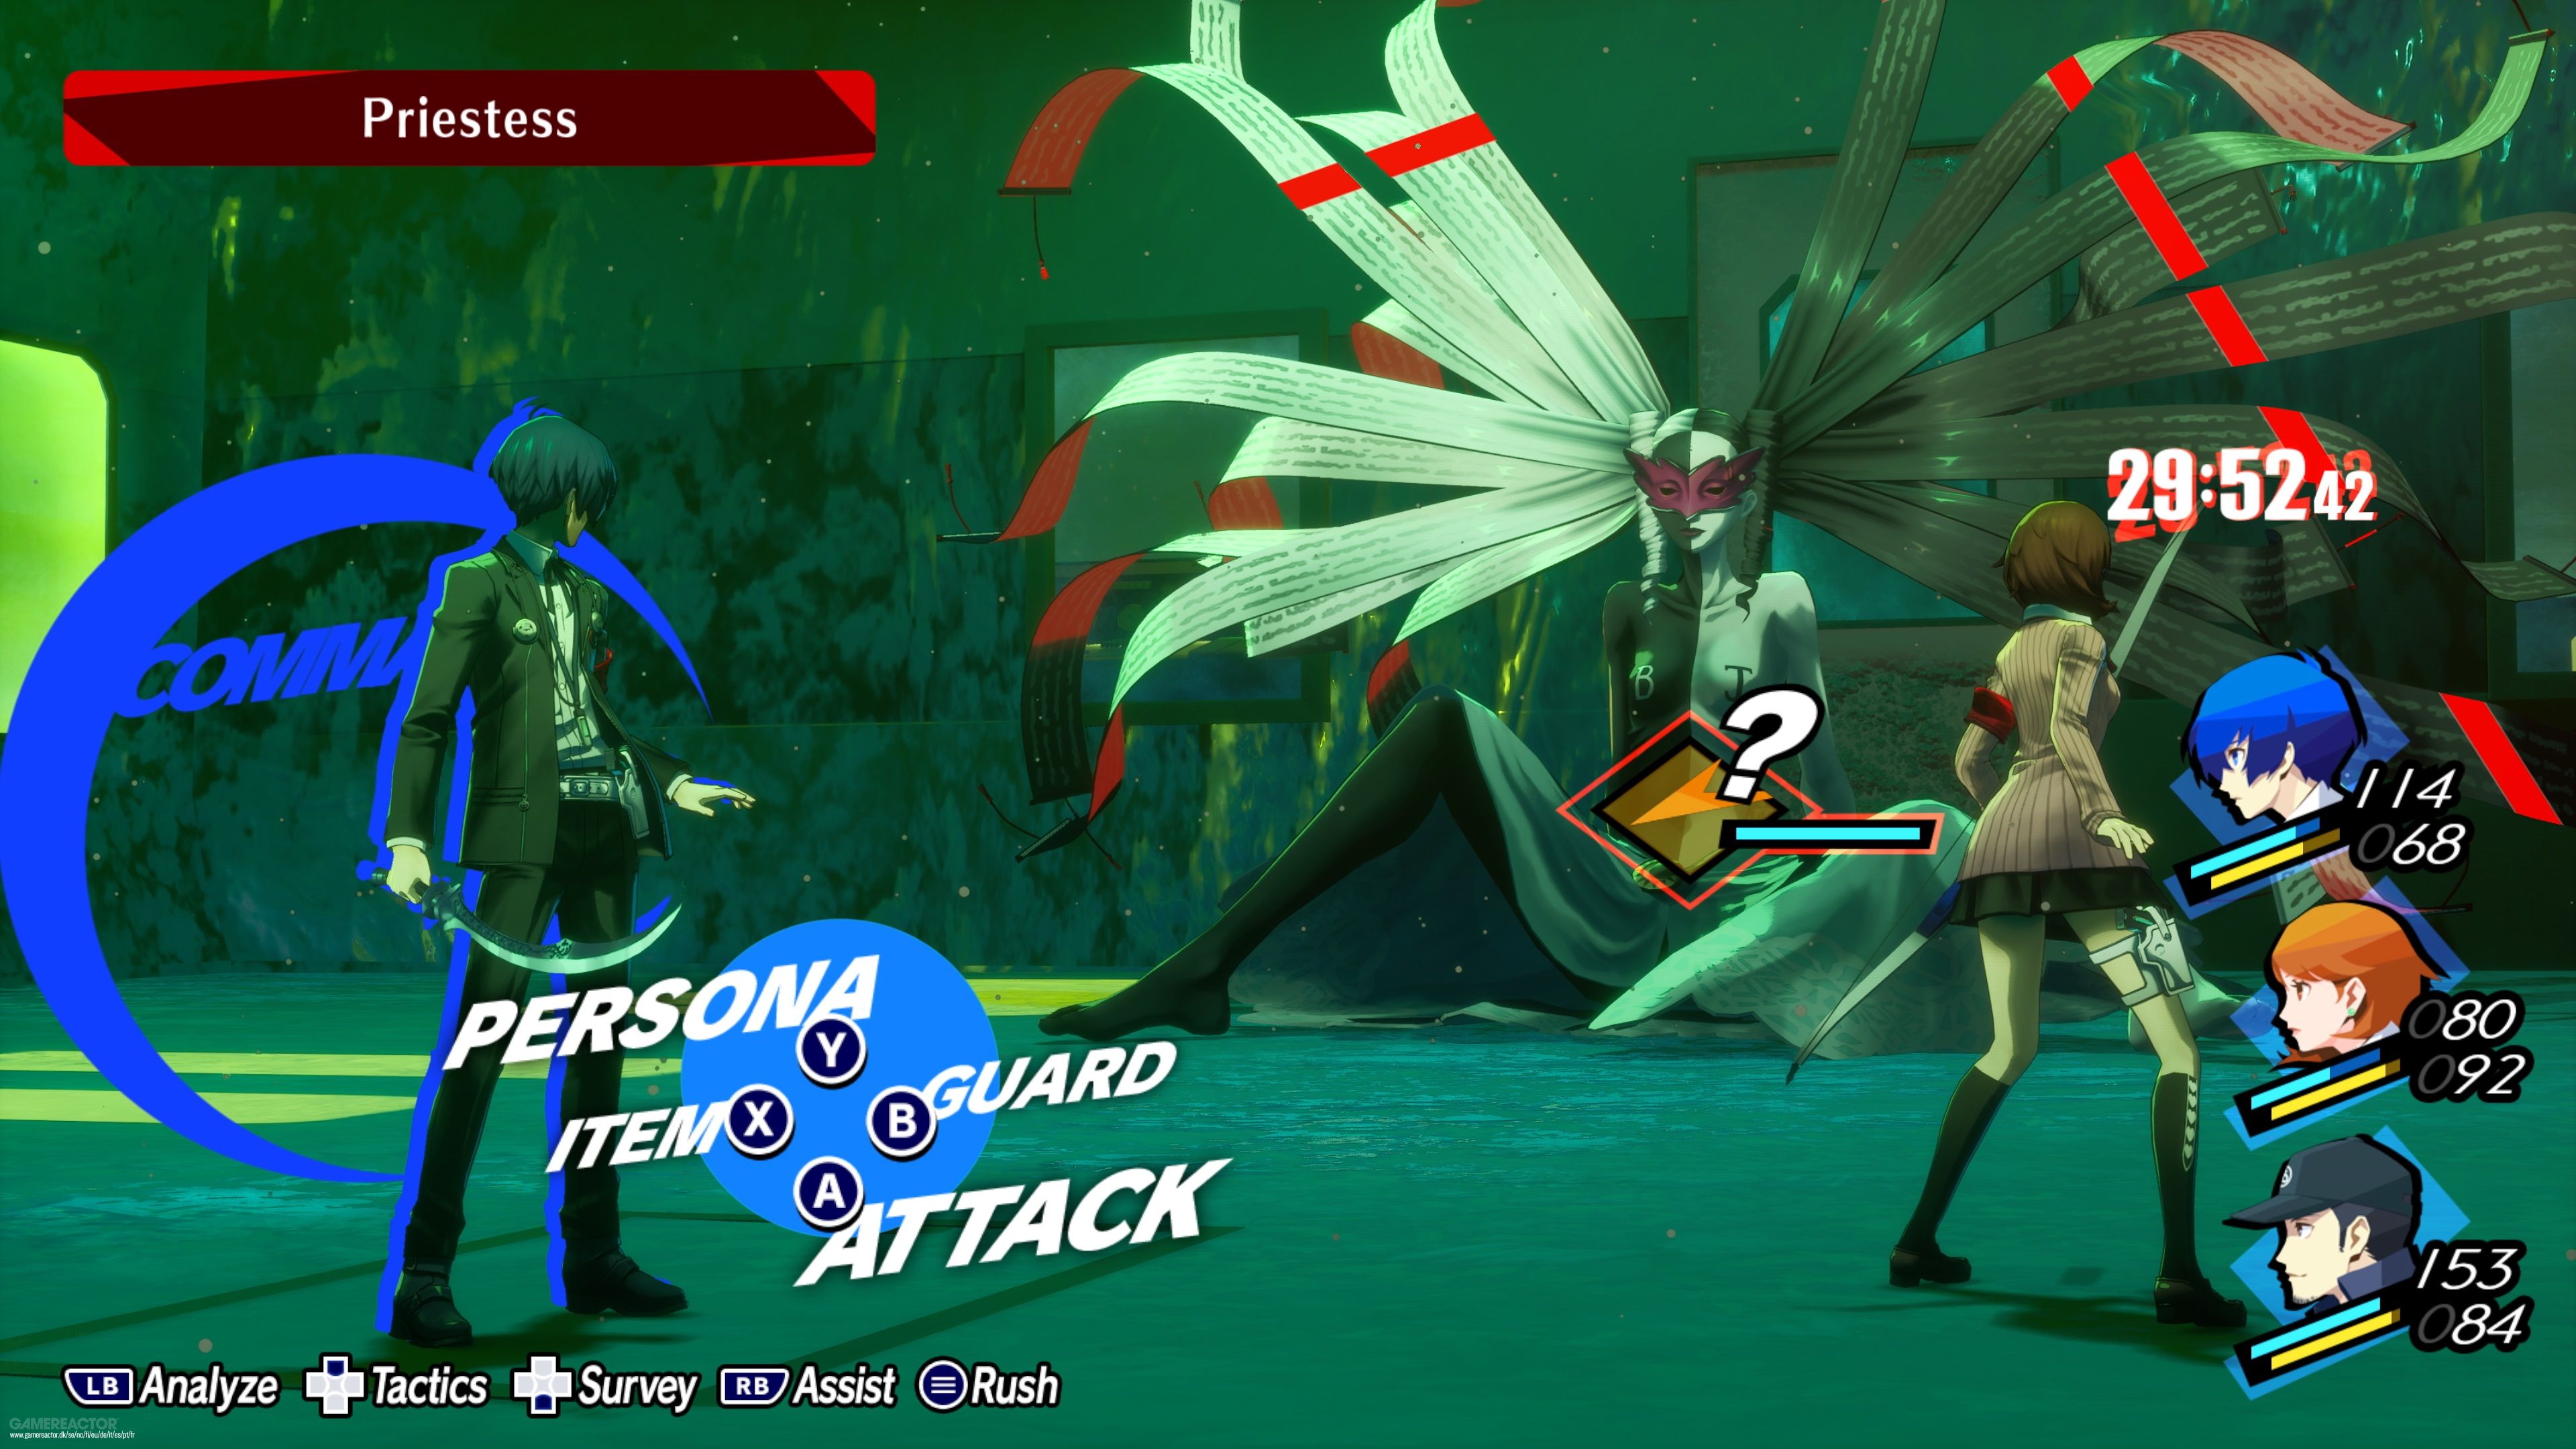
The Shader enhancement in Persona 3 Reload strengthens the impression of the game’s unique worldview.
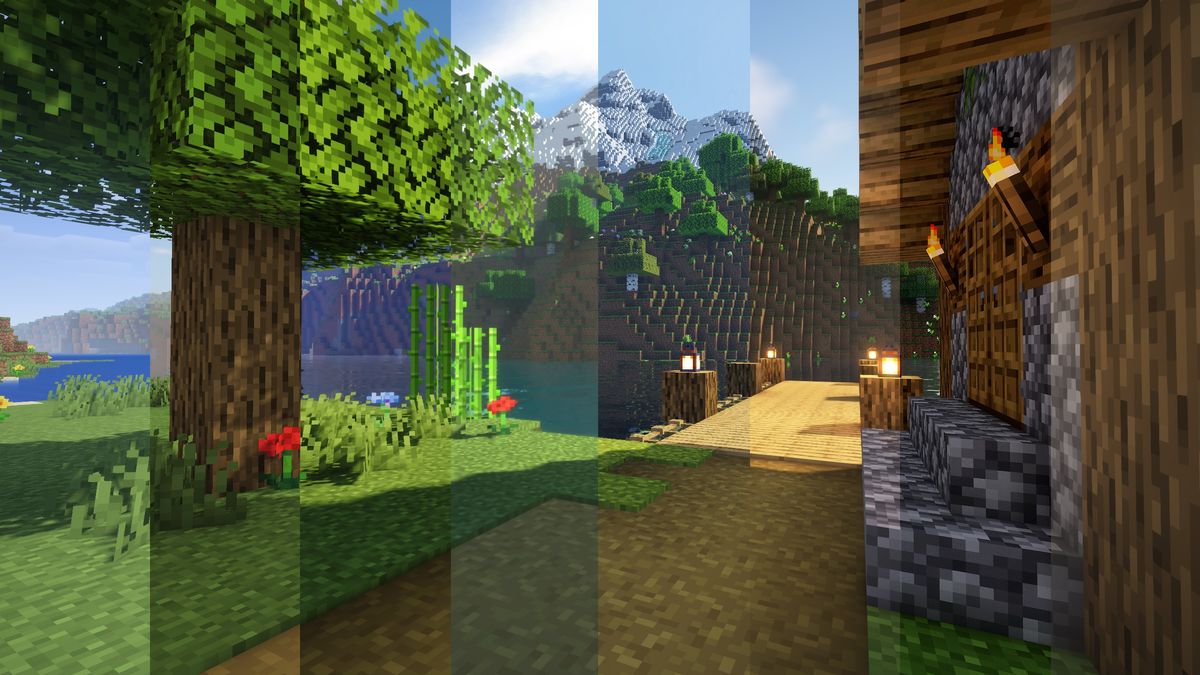
Minecraft uses Shader to give a different look to what seems like a simple block world.